Industrial Computed Tomography: A Complete Overview
Competitive pressure, increased customer requirements, more complex products and processes: For these reasons, more and more companies are opting to use industrial CT scanning technology (CT stands for Computed Tomography). In many industries, CT scanners can save considerable costs, reduce labor hours and increase product quality.
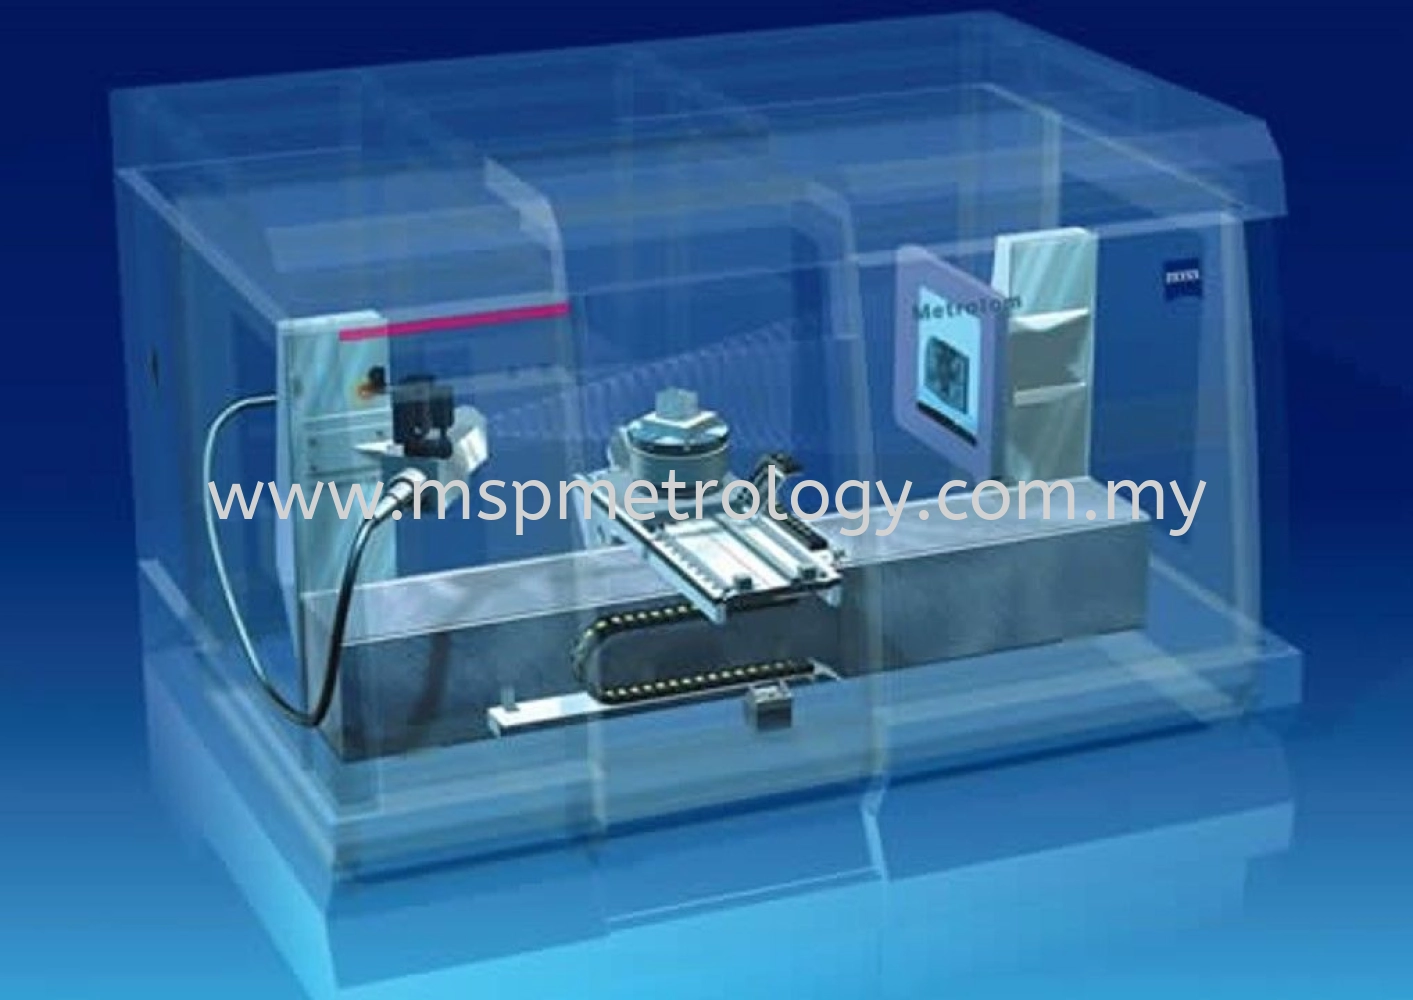
An industrial Computed Tomography system consists of the CT scanner and software for analysis and visualization. The software is the “brain” of the system and gives you access to extremely powerful applications in areas such as quality control, optimization of processes and tools, and automation.
Here we show you what you can actually achieve in your production with industrial CT scanners and the right software, give you practical examples and explain how they work.
Why Industrial CT Scanning?
Whether engine blocks or welding spots, products manufactured by injection molding or metal casting processes or results of 3D printing processes: Quality control ultimately determines the quality of the product and compliance with ever tighter defect tolerances. In addition, as technology continues to evolve, products are becoming more complex and smaller in size, increasing the need for precision. Manufacturers and their customers must also constantly optimize their processes in order to remain competitive and position themselves in the market.
A wide range of testing systems are used today for quality control, inspection and analysis, such as optical and laser-based inspection systems. Some non-destructive testing methods (e.g. eddy current and magnetic particle inspection) can detect superficial material defects. However, these systems often cannot “see” all the properties of a part and thus cannot provide data on defects and deviations. Destructive testing by cross-sectional inspection of a part is both costly and limited.

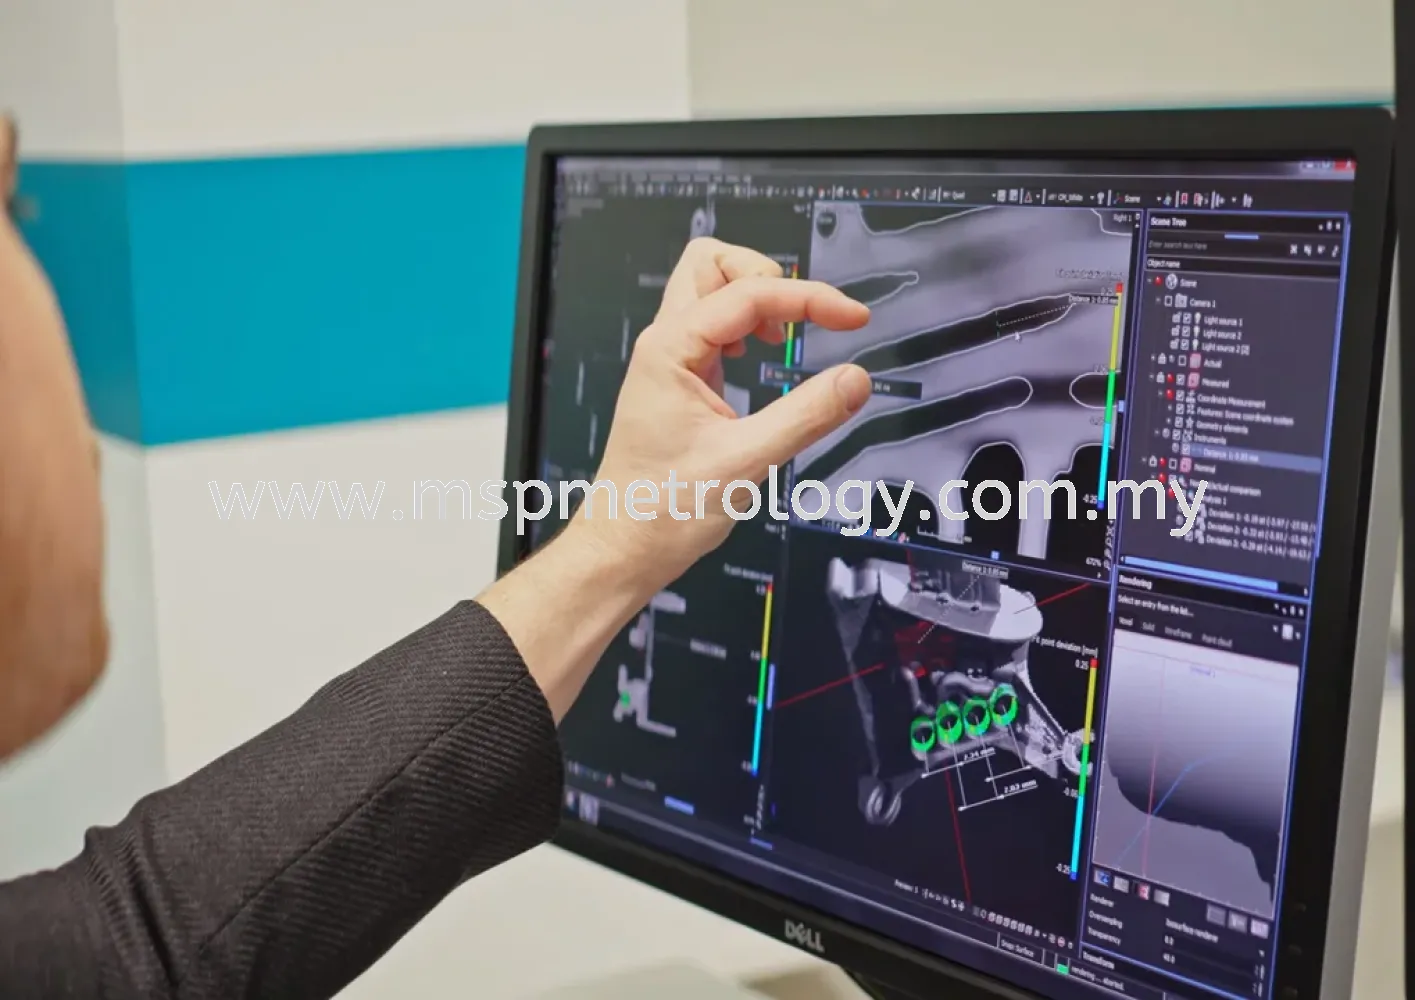
Nominal/actual comparison. A CT-scanned object compared with its respective CAD data set. Color-coded analysis results and local annotations show deviations. The software allows for geometric comparison of voxel, mesh, and CAD data.
This is where industrial computed tomography (abbreviated industrial CT) comes in. A CT scanner also penetrates the interior of parts and has no problems even with transparent or reflective surfaces. The data thus generated is then processed using special software, which enables numerous applications, such as:
- High-precision compliance with specifications
- Assessment of dimensional accuracy
- Analysis of structural integrity
- Prediction of performance
- Optimization of manufacturing methods and tools
- Automated inline quality control
Parts scanned by CT can be “unrolled” on a computer and then inspected for defects even on the inside.

Data analysis software for CT scanning provides an “unrolled” view of the same weld seam; pores and cracks are clearly visible along the entire weld seam.
How Does Industrial Computed Tomography Work?
CT scanning, also known as 3D-computed tomography, works by processing multiple X-ray images to gain a dimensionally accurate 3D model of the object being scanned.
The wavelengths used with industrial CT scanning are both shorter and more energetic than those used to X-ray a broken bone, which means they can easily penetrate dense materials such as wood, plastic, composites, and metal. And where X-ray machines take a one-sided image of the target without depth resolution, industrial CT scanners view all sides of an object and use mathematical methods to reconstruct a volume. This resulting 3D volume offers an interior view that no other technology provides.
But CT scans alone are not enough. Only the combination with the right software tools for analysis and visualization gives you a system that can be used extremely productively in various industry applications. Software such as Volume Graphics’ special solutions offers functions that go far beyond the capabilities of the native functionality of your CT scanner, such as:
- Automated collection and analysis of scan data
- Defect detection
- Measurement functions including GD&T, FEM meshing tools
These are just some of the software functions available for the analysis of CT data. They enable the significant improvement of quality control, the acceleration of processes and ultimately the production of finished parts of the highest quality while maintaining high cost efficiency.

Volume Meshing allows users to create accurate and high-quality tetrahedral volume meshes from their CT scans for use in mechanical, fluid, thermal, electrical, and other FEM simulations in third party software
The Industrial CT Scanning Process: Step by Step
The process starts by placing the workpiece on a rotating turntable, an X-ray source sitting on one side, a digital detector panel on the other. Larger objects might be scanned by simultaneously rotating the X-ray source and detector, not unlike the CT scanner used by medical facilities.
Whatever the approach, the X-ray device is then energized with anywhere between 40 kilovolts to six megavolts or more. As the object rotates, it weakens X-ray radiation in proportion to its density. The X-rays that aren’t absorbed or scattered pass through to the detector panel, which continuously captures the resulting image. Based on the type of machine, the beam shape, and the size of the workpiece, the turntable (or beam) can also be “translated” (moved vertically) to capture the entire part geometry.
The beam itself might be shaped like a pencil, a cone, or a flattened fan, each of which has a direct effect on the speed and quality of the resulting image. Other factors play a role as well, including the target material, the part thickness, production requirements, desired precision, and image resolution.
Perhaps most relevant of these is the material. It might seem obvious that the denser it is, the greater the amount of power needed to penetrate it. While higher power usually correlates to improved image contrast due to less noise, higher voltage leads to less noise as well, but may reduce the contrast in some cases if no countermeasure is taken. It’s not possible to simply crank up the volume, so to speak, on very large or very dense parts. It’s for this reason that CT scanning is usually limited to suitcase-sized and smaller parts, although there are exceptions.
How CT Scanners and CT Software Work Together
Key to the CT scan and the critical data analysis that follows is the voxel. When an X-ray beam’s high-energy photons pass through their target, some are absorbed and others scattered, but the remainder strike the detector screen opposite the X-ray source. They then energize the (two dimensional) pixels there in proportion to the density of the material being scanned as well as its thickness and attenuation values, and generate a series of grayscale images.
This is where the computational part of the process comes in. CT-data visualization software reconstructs those millions of pixels into three-dimensional voxels. Then, employing advanced mathematical algorithms, the software creates a full three-dimensional visualization of the exact object that’s been scanned. Next, a rainbow of tools can be employed to analyze the material density, stress patterns, internal defects, design flaws and a host of other attributes of what’s been scanned— which includes machined metal parts, 3D-printed prototypes, plastic injection-molded parts, fiber-reinforced plastics, or anything else that’s scannable.
These software-based analyses and visualizations can be highly valuable to manufacturers in almost any industry, allowing designers and engineers to understand failure modes, validate critical part features, predict how products will perform, and both quantify and qualify manufacturing processes.

Exploded view of an aircraft engine recreated from CT-scan data
Applications of Industrial Computed Tomography at All Stages
The industrial CT scanning, analysis and visualization process is fast, reliable, contactless and non-destructive. This enables insights in inspection and metrology that go far beyond conventional optical or tactile metrology. This method can be used at any stage of production, from prototyping to inline inspection in manufacturing.

Examples for Industrial CT Applications
Examples of the many applications of Industrial CT Scanning:
- Oil and gas companies analyze the internal structures of drill cores for permeability, porosity, and mineral composition, helping them to determine where and how deep they should drill.
- A life-sciences firm recently used CT scanning to perform pre-production measurement of insulin pens, verifying more than 300 dimensions and geometric features per part sample.
- The semiconductors, electrical pathways, and connectors within smartphones and solid-state hard drives can be sliced, inspected, and color-rendered with CT scanning.
- CT scanning is widely used by pharmaceutical manufacturers to assess the wall thickness of film-coated, time-release medications.
- An automaker CT-scanned an internal combustion engine, then used the results to virtually disassemble the 150+ machined components within.
Hundreds of such applications exist, running the gamut from car-key fobs to industrial robots to rotor blades to carbon-fiber racing bikes. In each example, after scanning is done, CT-integrated software helps manufacturers analyze, visualize, measure, and document workpieces inside and out. The result is continuous product improvement, reduced engineering time and costs, and fewer failures in the field. You’ll find an overview of different applications for 3D printing, casting, injection moulding and many more on our applications page.
Real-Life Examples: Improvements Thanks to Industrial CT Scanning
Inspection Costs Reduced by 50%
An Austrian automotive supplier reduced costs by around 50% after introducing industrial computed tomography (CT) as a measurement tool. Measurements using conventional optical and tactile inspection methods took 450 man-hours for the initial acceptance alone and destroyed the part in the process. Industrial CT provides insight into virtually all features of the part without destroying it—and at lower costs

An automotive supplier uses industrial CT
Inspection Time Decreased by 84%
This automotive supplier went from slice sectioning to using industrial CT-based metrology to inspect its plastic connectors—and thereby reduced the time needed for first article inspection from 75 to 12 man-hours while simultaneously improving measuring accuracy.

An automotive supplier uses industrial CT to inspect several hundred individual features on the connector .
Articles extracted from https://www.volumegraphics.com/en/solutions/industrial-ct-guide.html
Above sharing just for your reference. When you’re interested in investing a computed tomography machine to improve your quality process, select a supplier who offer a quality service and meet your specific needs.
If you have any enquiry with hardness tester, welcome to contact us by email: enquiry@mspmetrology.com
10 Nov 2023










.png)
